Adding Inputs
Prerequisites: a Page
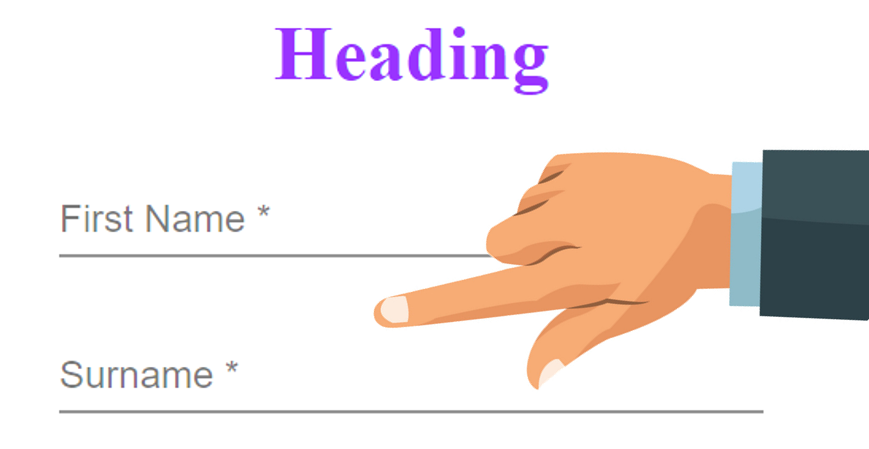
We have already created the heading for our page.
Let's add 2 input fields to capture a first name and a last name.
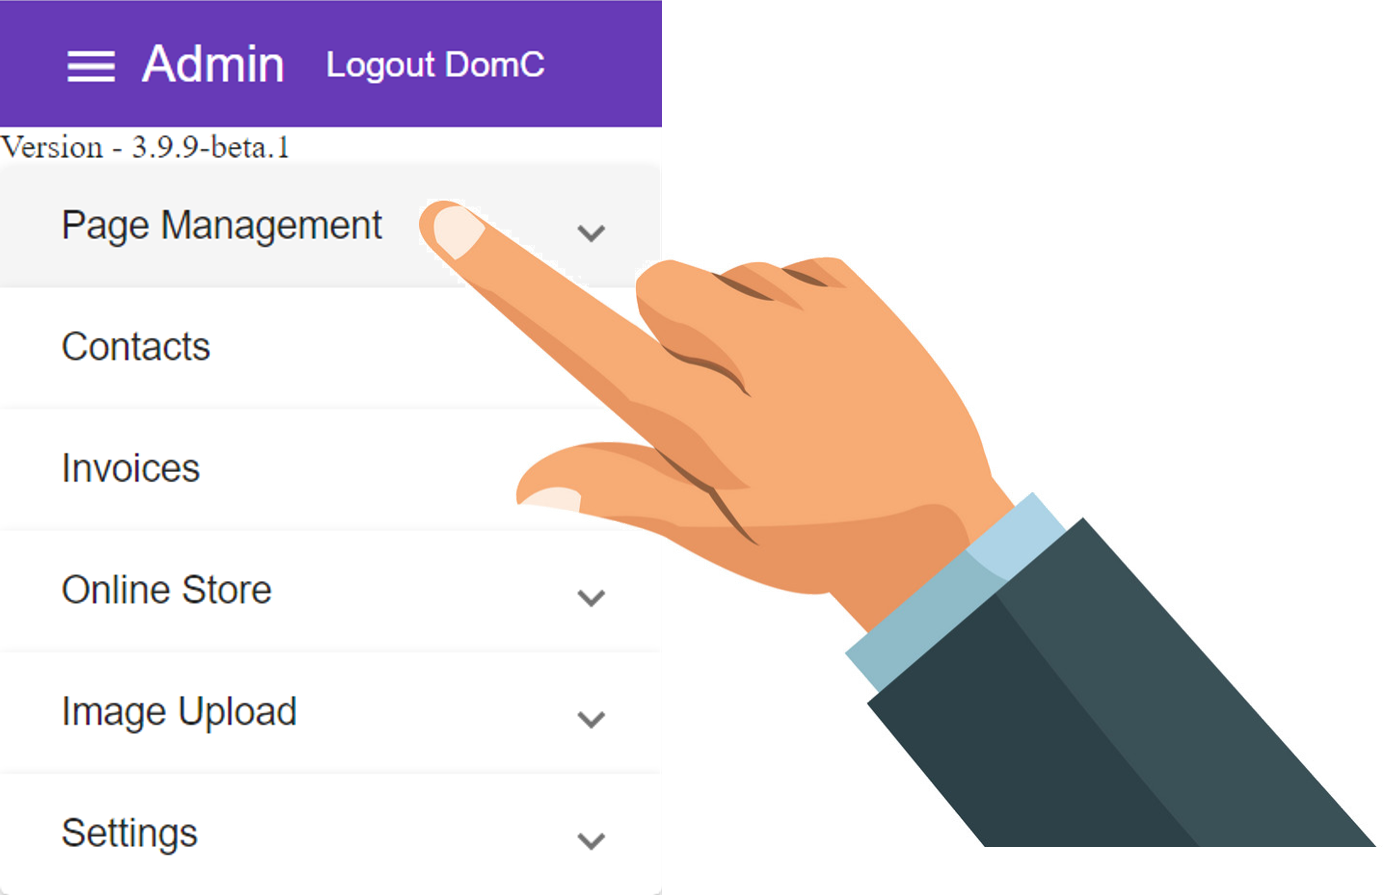
1. Log into your Admin Module
To access your admin site, simply type "admin." before your public url.
eg: https://admin.demo.dashnetics.com.au
2. Select

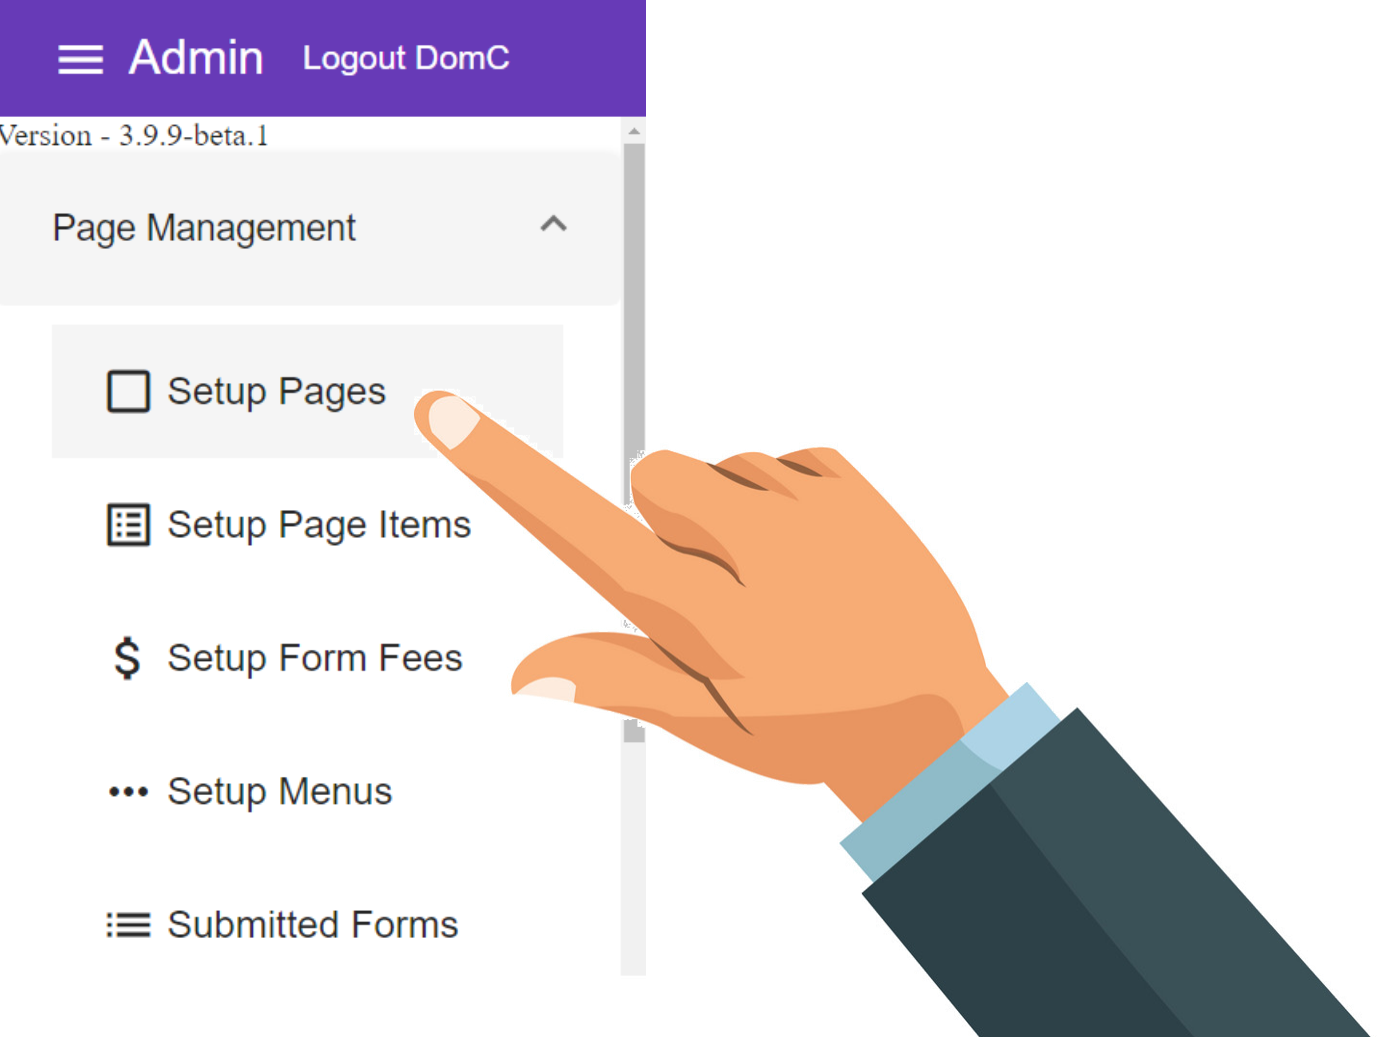
3. Select
4. Select
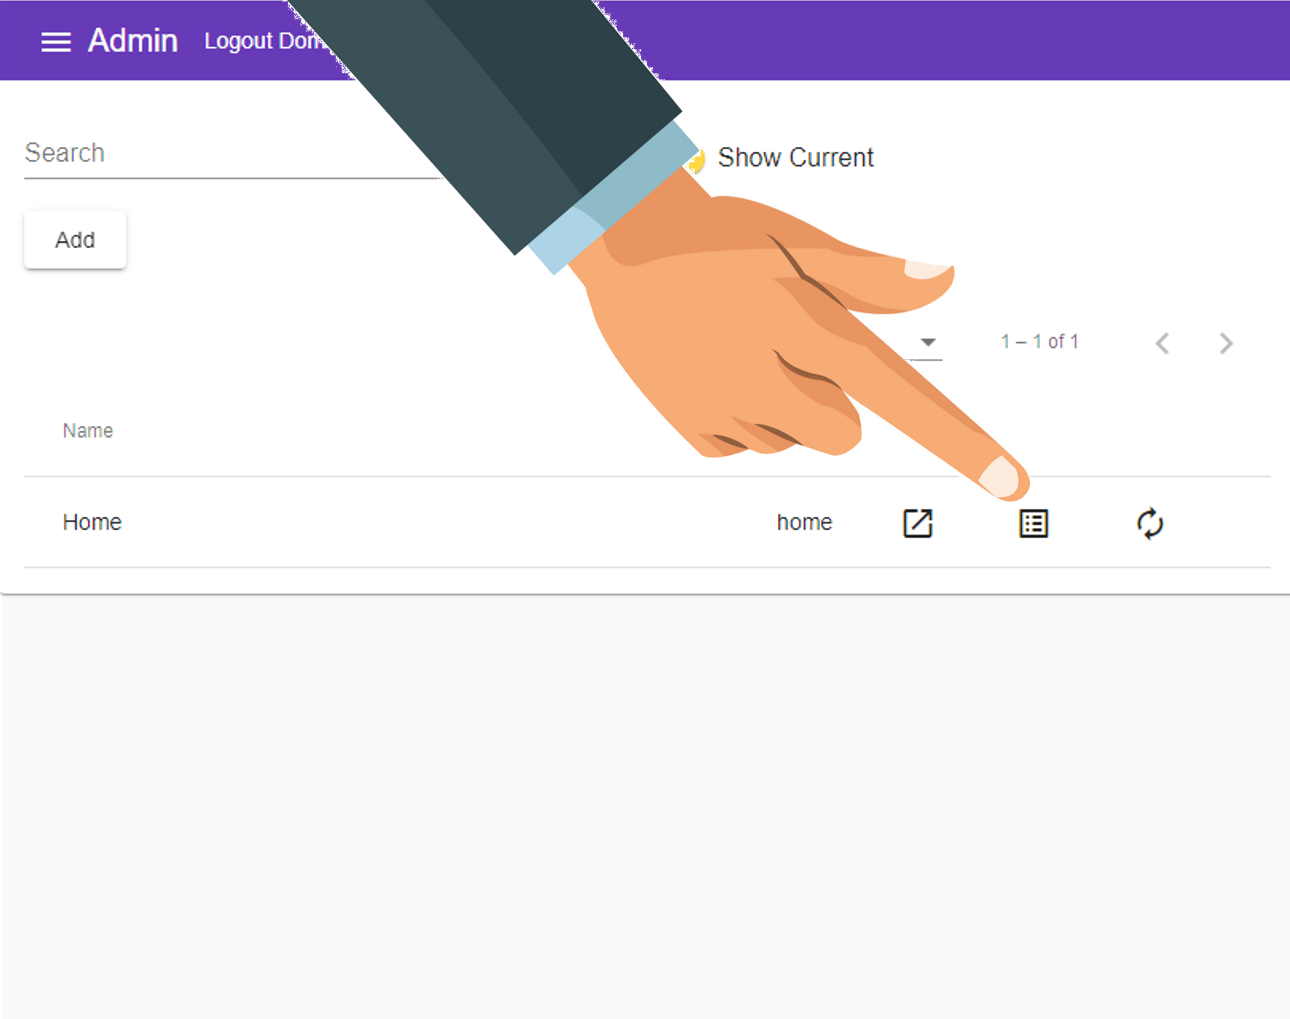
5. Select Items Icon
Each page will be listed, choose the "Items" Icon next to the page you want to change.
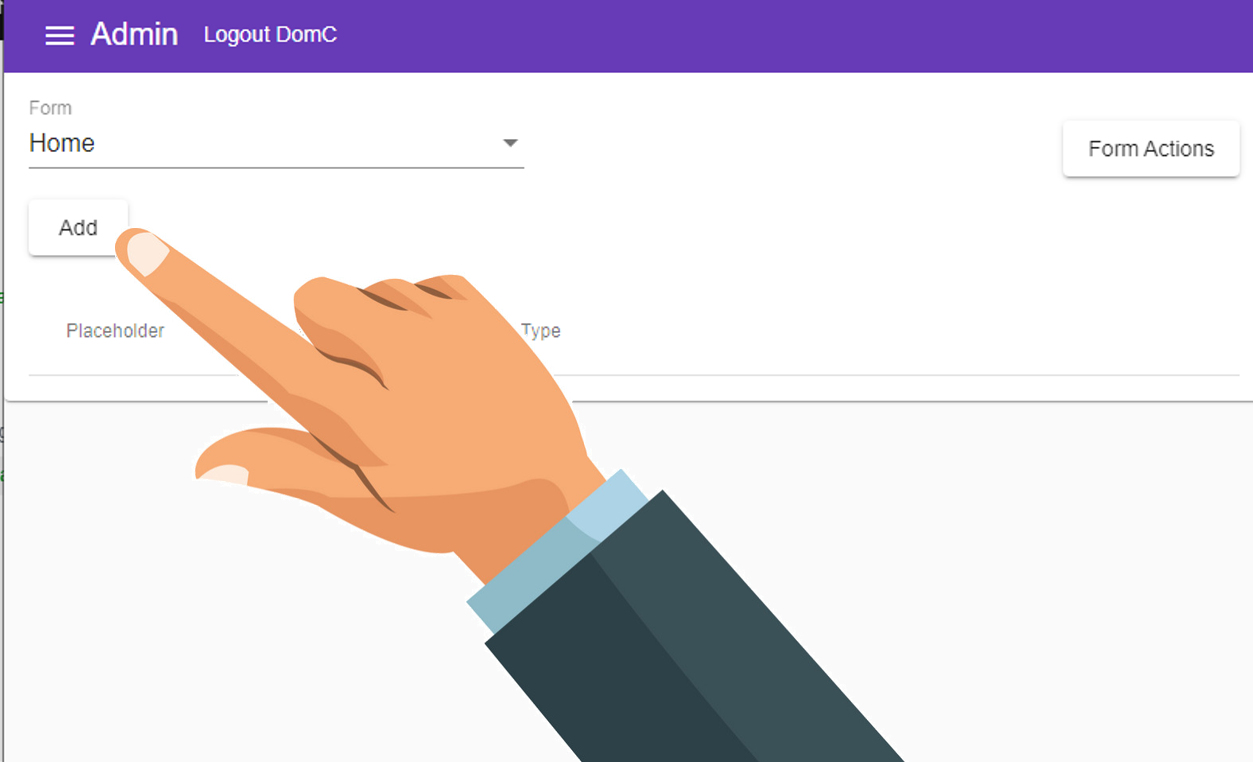
6. Select
To begin adding a new Item to the page
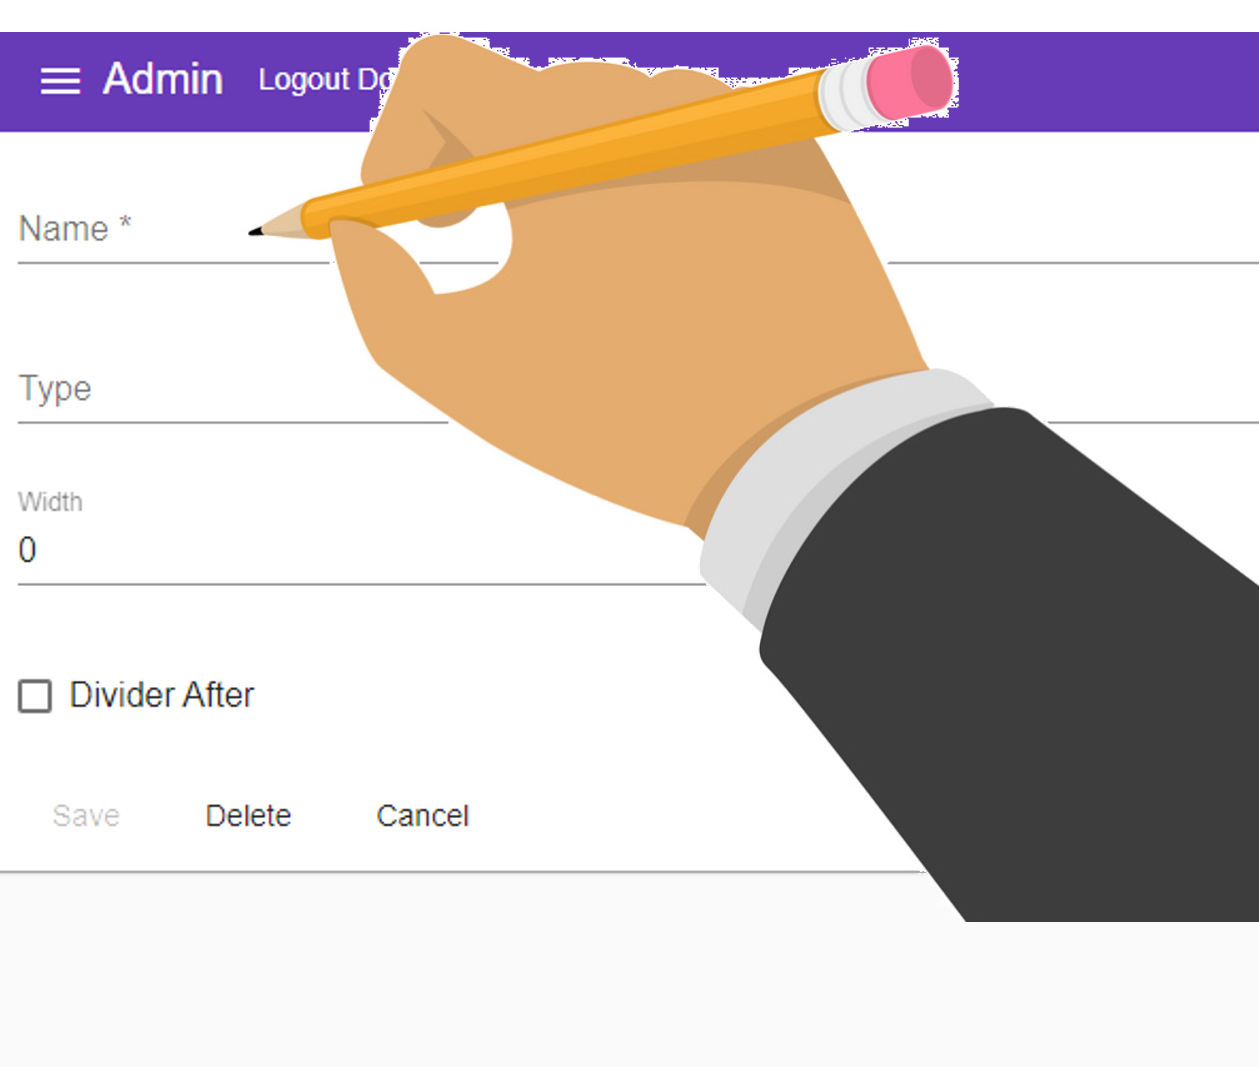
7. Enter a Name for your Input
- For example, "First Name"
Names can contain spaces or any characters
8. In the Type dropdown, choose "Input"

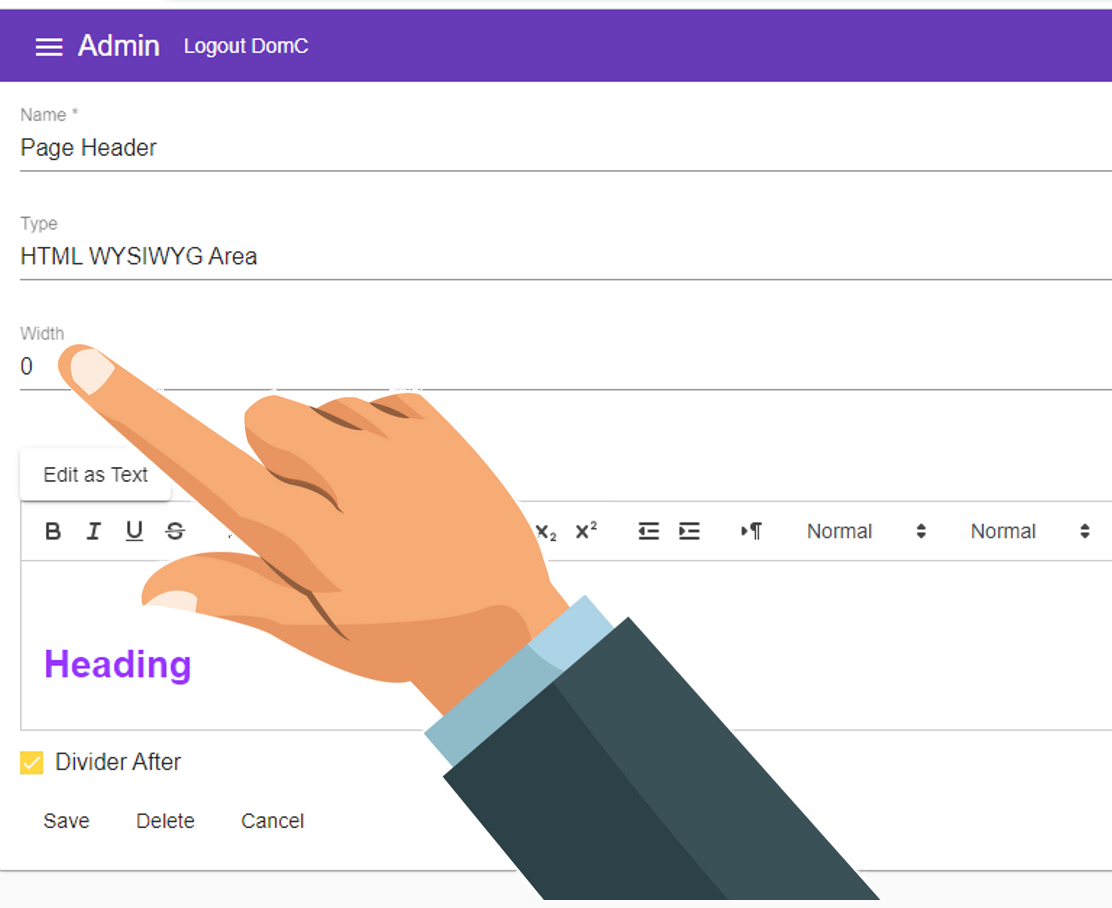
9. Width can remain as "0"
Width "0" means the item will display at the DEFAULT width.This can be changed later if necessary
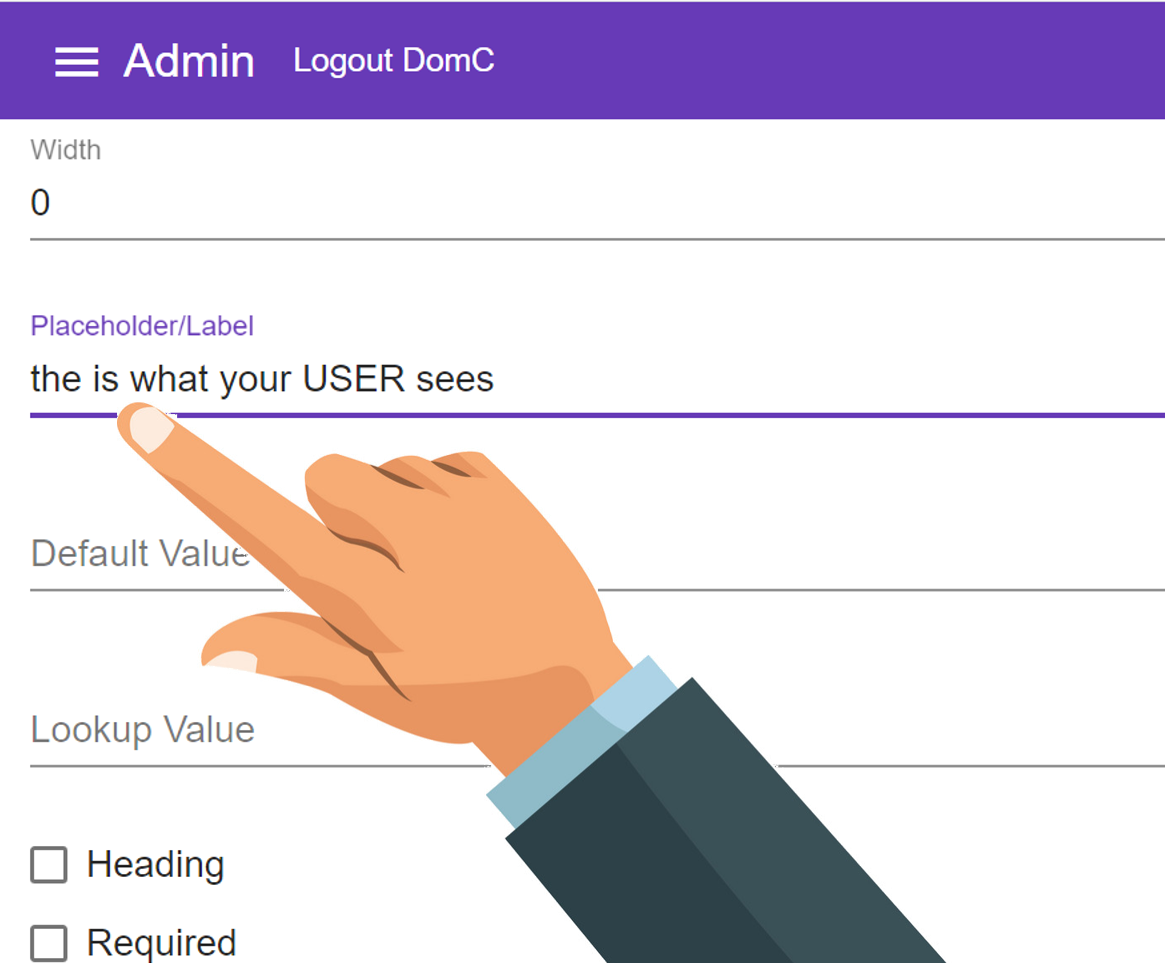
10. Type your text in the Placeholder / Label field
This is what your page users will see, so make it relevant and easy to understand.
An input labelled "Street Name" is easier to follow than one names "ADD-St"
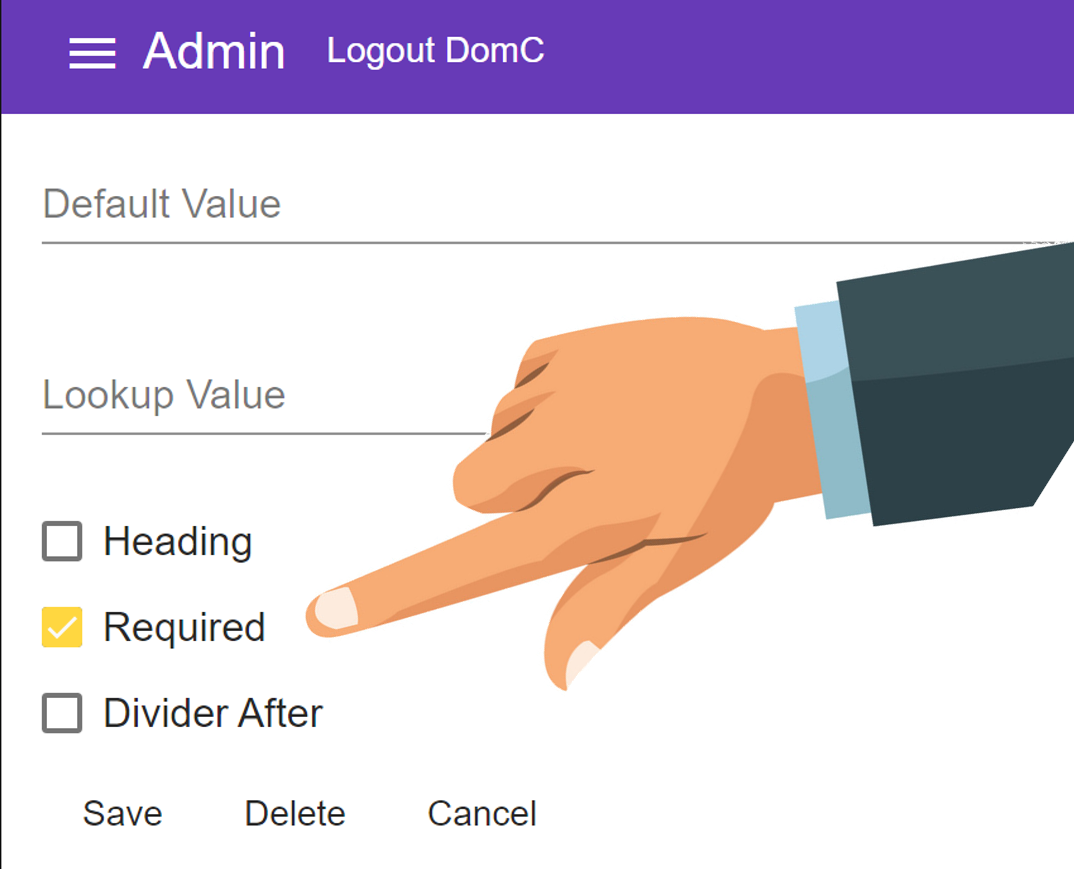
11. Tick or leave check_box 'Required' info
Ticking this will make this input mandatory in order to submit the form.
If you make the input "Required" or "Mandatory"
They will not be able to submit if they have not filled in a value.
It should therefore be something everybody has immediate access to, like their name or phone number
The field will show an * to inform the user it is mandatory
The input will turn red if not filled in to show the user has missed a mandatory item
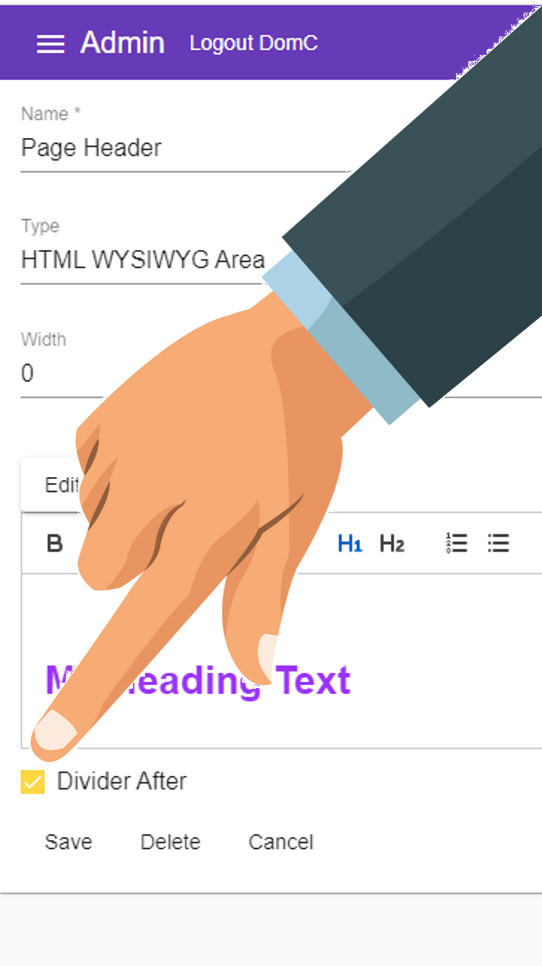
12. Tick or leave check_box 'Divider After' lightbulb
If you want 2 items on the same line
for instance with first name and surname, don't tick 'Divide After' for first name, Tick it for surname
Ticking this will ensure the next item we add will appear below this one.
13. Select
For more information on Validation see Data Validation
You can add multiple validations on the same input
for instance with an input of "age" you may have a maximum AND minimum
eg - to limit [age] input between 6 and 120
| Select | Value | Text |
|---|---|---|
| Greater Than | 6 | Are you playing on Mum's Ipad again? |
and
| Select | Value | Text |
|---|---|---|
| Less Than | 120 | Wow, you look great for your age! |
Using todays date to validate
In the above example, instead of an input of "age" you may have a "Date of Birth" field
eg - to limit [Date of Birth] to between 6 and 120
| Select | Value | Text |
|---|---|---|
| Less Than | today-6 | Are you playing on Mum's Ipad again? |
and
| Select | Value | Text |
|---|---|---|
| Greater Than | today-120 | Wow, you look great for your age! |

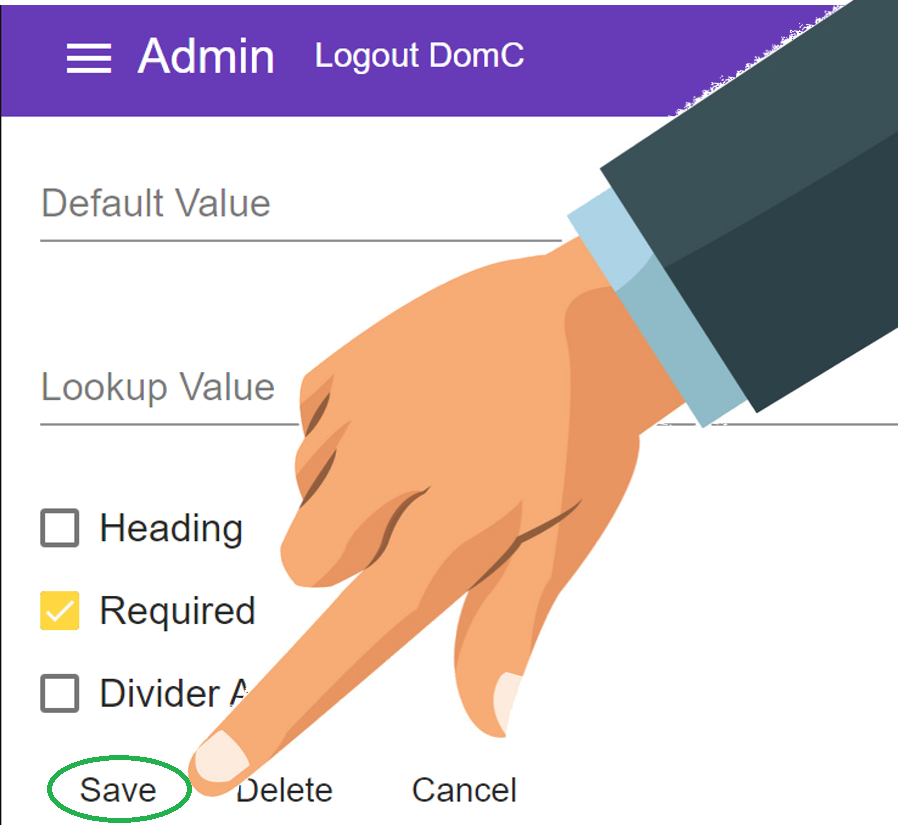
14. Press
Our page should now look something like this.