Adding a Menu to the website
From the previous section we now have a menu setup. It's time to add it on our front end.
- Go to the Admin Module
- Select the Admin Module Menu
- Select 'Page Management'
- Select 'Setup Pages'
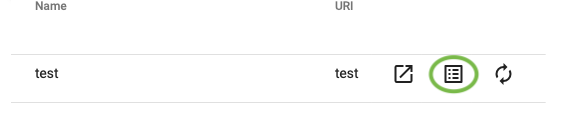
- Select the Form Control Icon
- Select 'Add' to add a new form control
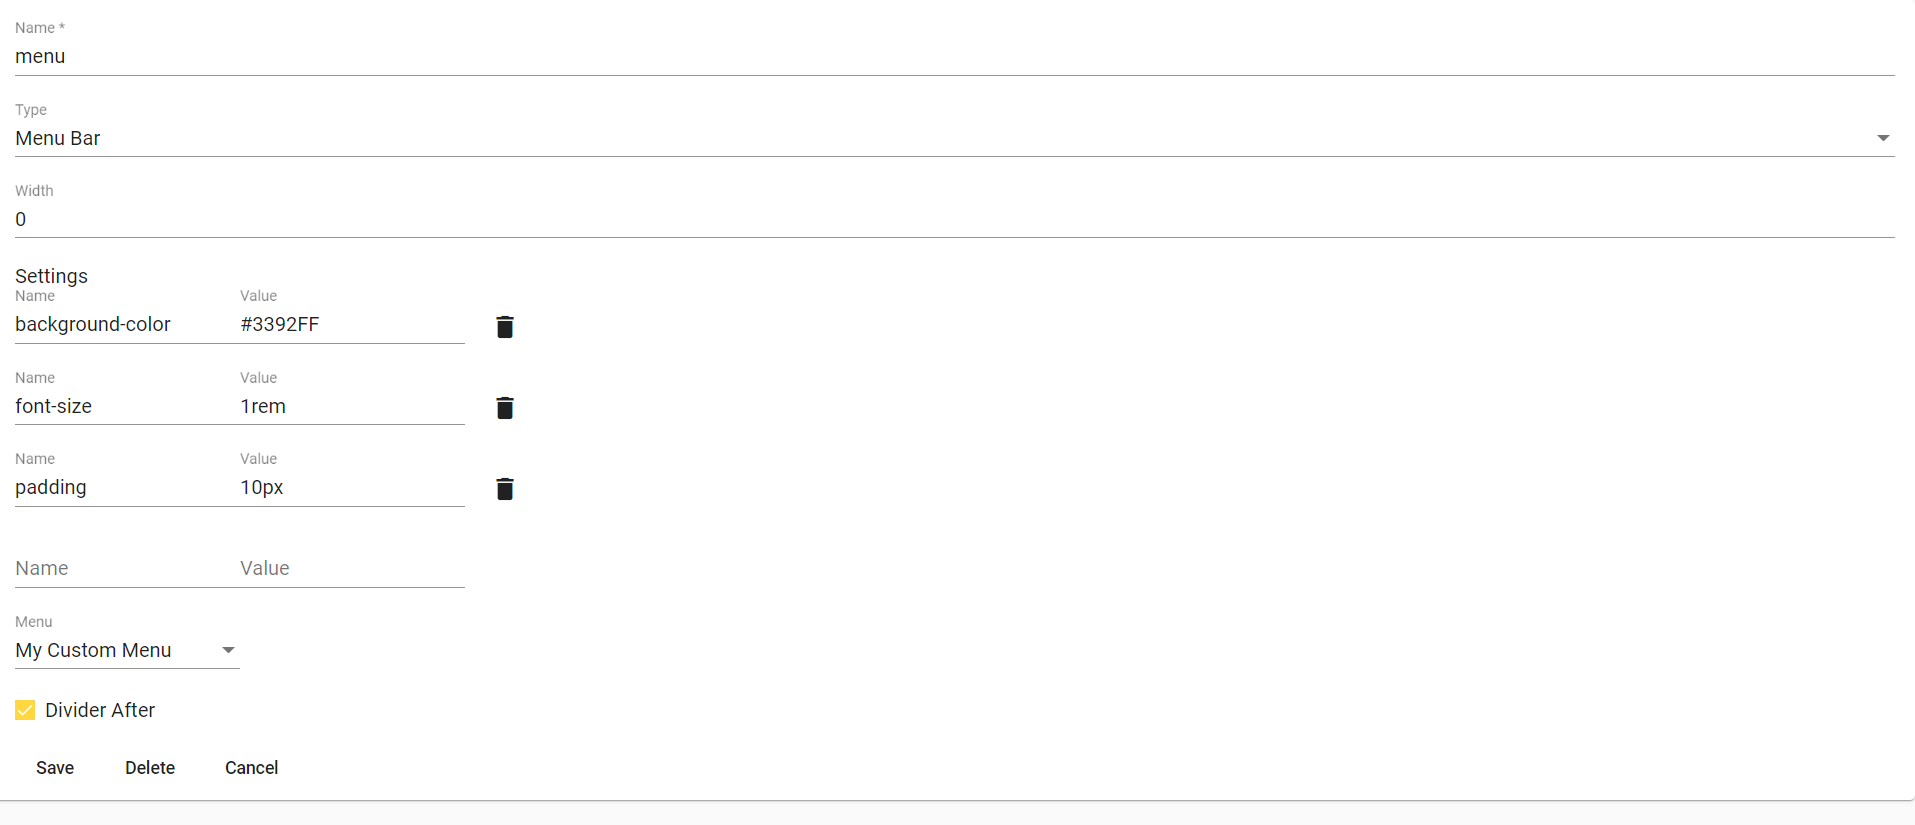
- Select the type as Menu bar, give a name to the section
- At the bottom, select the menu that we created
- In the settings input fields, we can add as many CSS properties as we want to as shown in the example
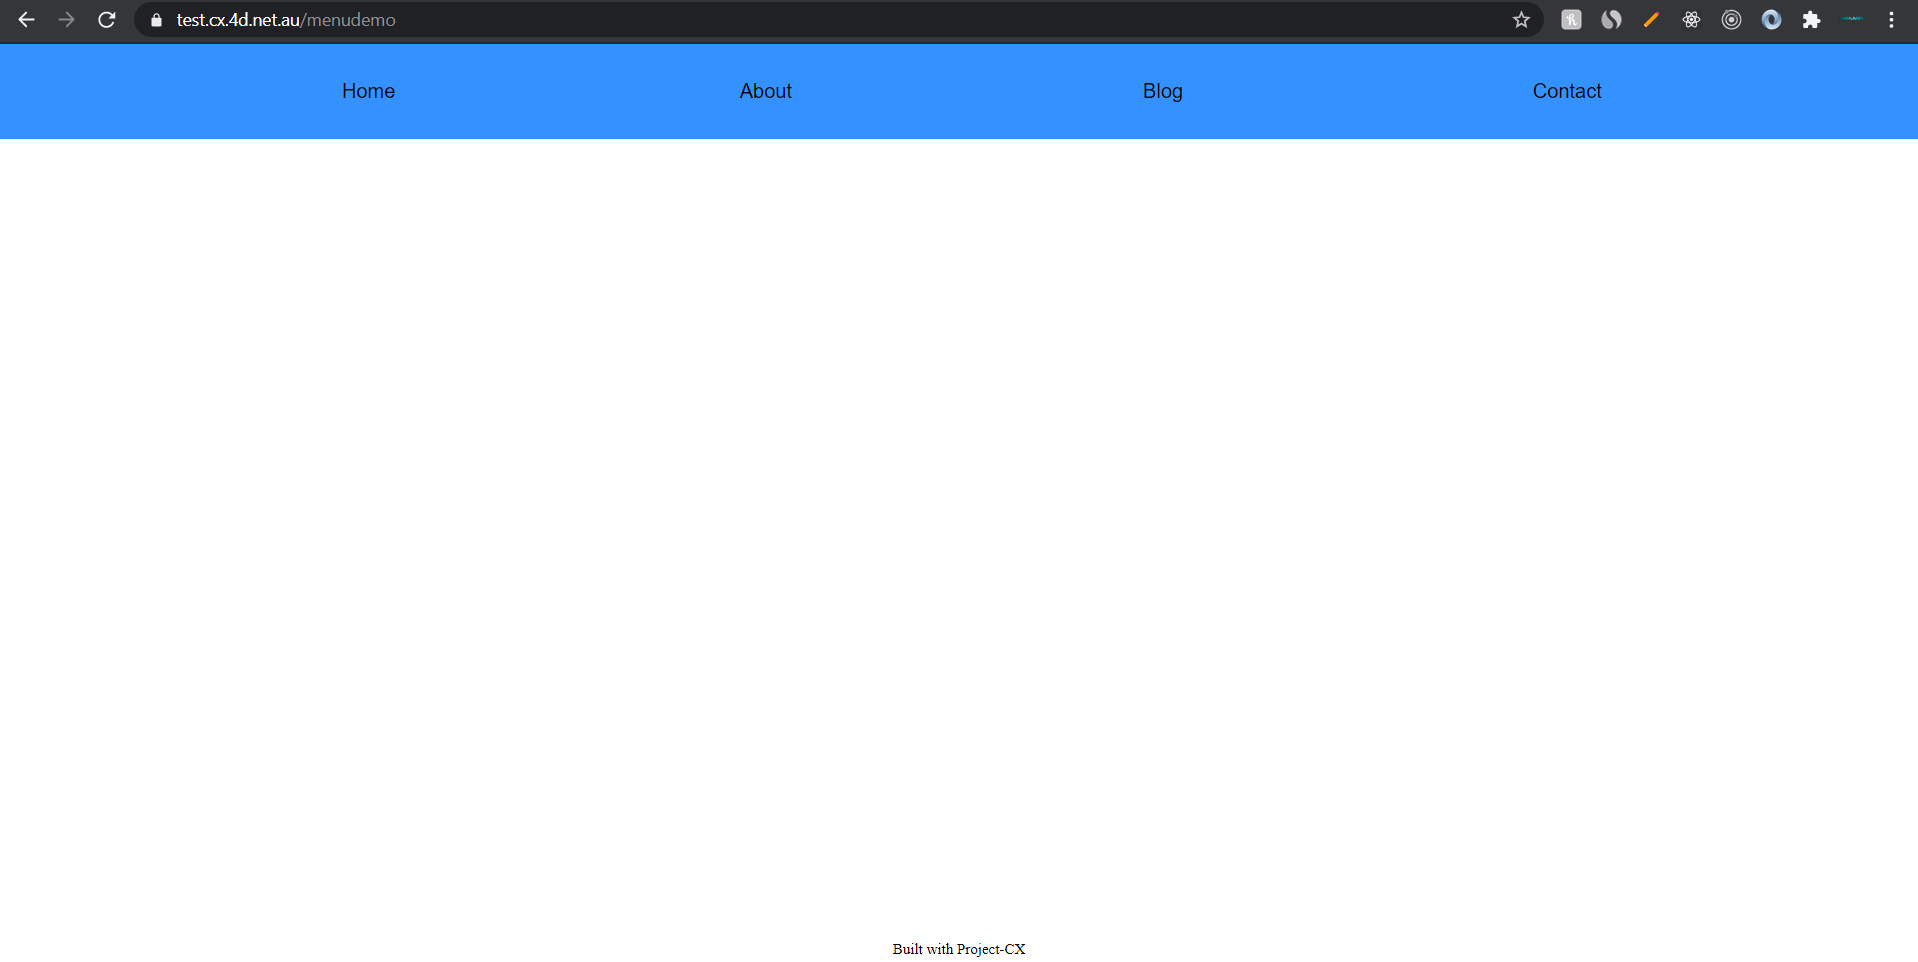
- In this way, we can add CSS to style the menu and now the result is as follows:
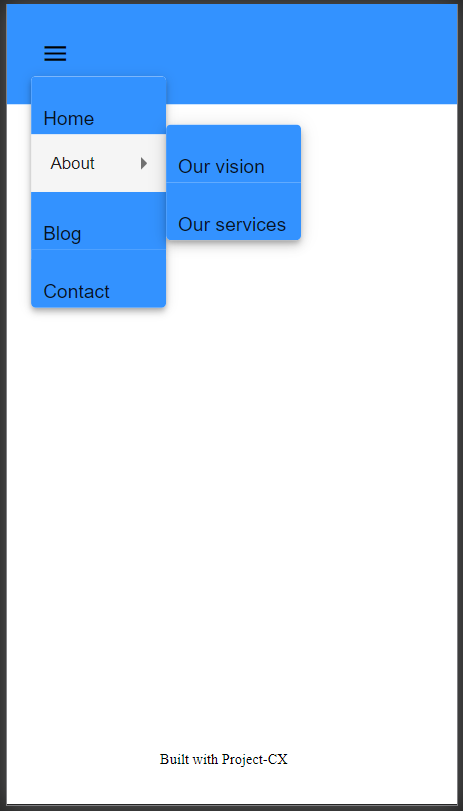
All menus created using Dashnetics are completely responsive and works absolutely fine on small screen devices.
The position of the menu can also be adjusted by re-ordering the fields on the page. For example, you might prefer the page to display a banner at the top of the page and the menu below the banner.