Applying a Custom CSS Class
Classes can be applied to an element by adding them into the element HTML Text Area.
Classes can also be defined in a Custom CSS Page and then called from the element, as long as the page is linked to the custom css page.
To Add a Custom Class to your Dashnetics Site#
Prerequisite knowledge:- How to add a Custom CSS Page
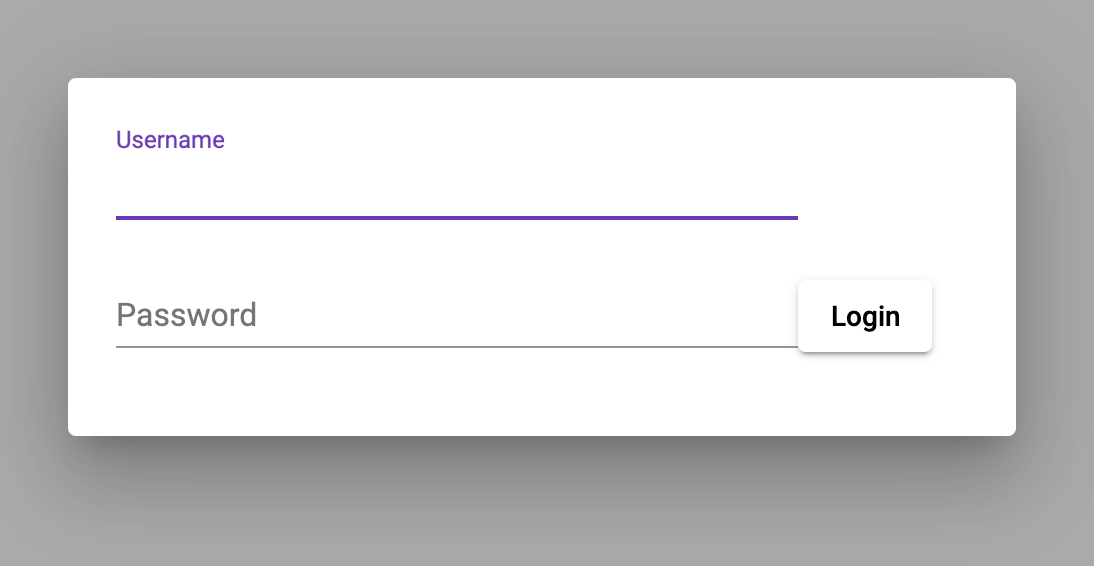
1. Log into your Admin Module
To access your admin site, simply type "admin." before your public url.
eg: https://admin.demo.dashnetics.com.au
2. Select the

3. Select
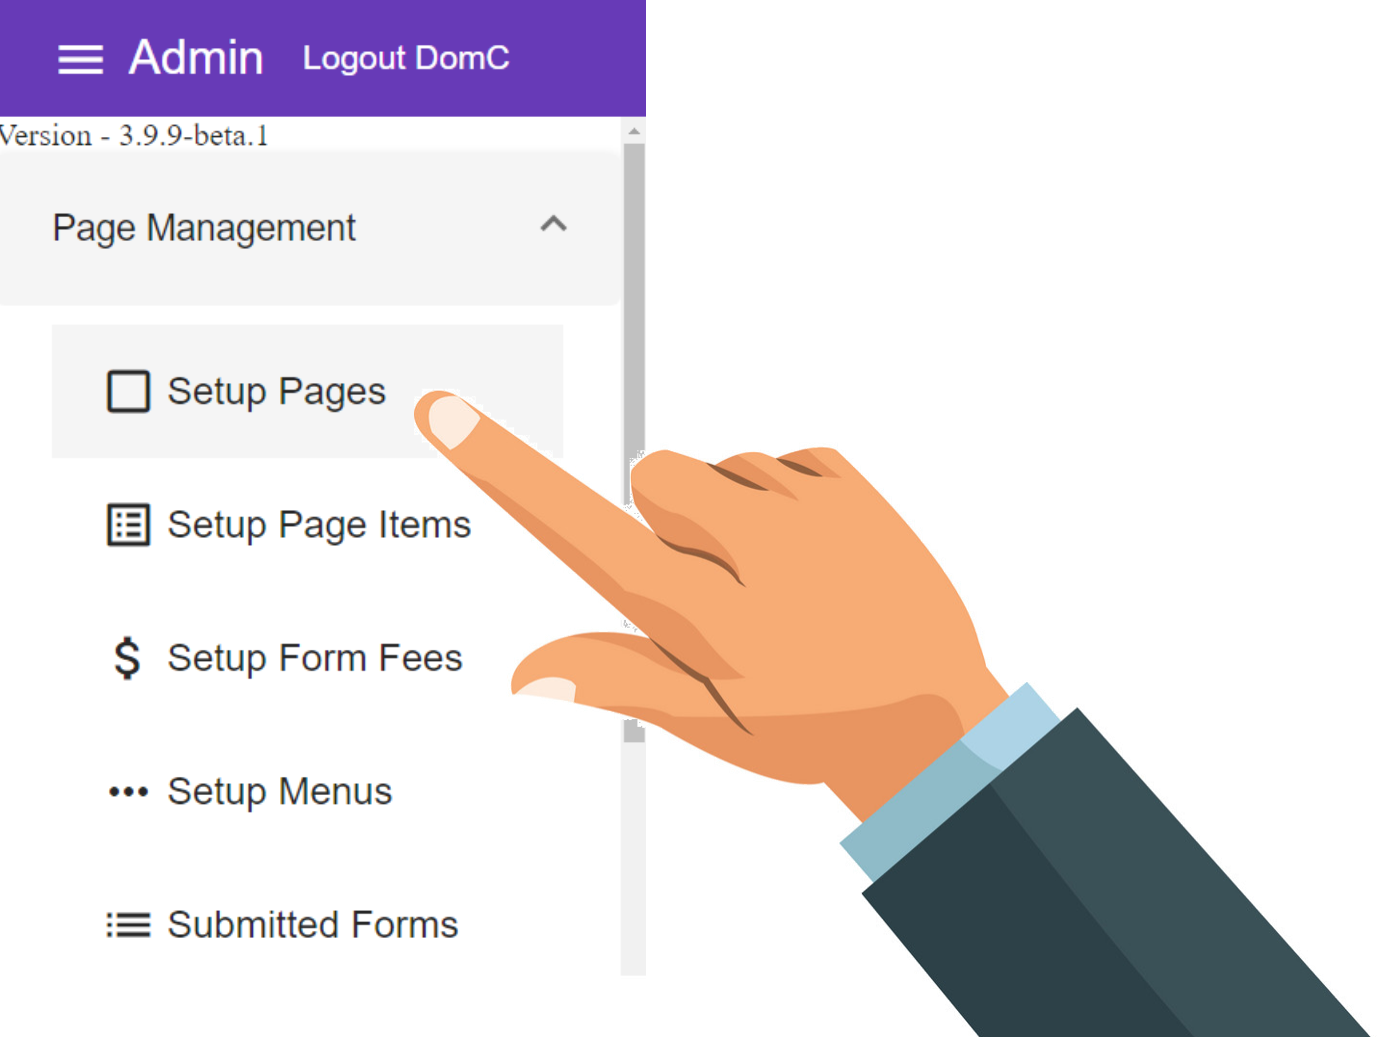
4. Select

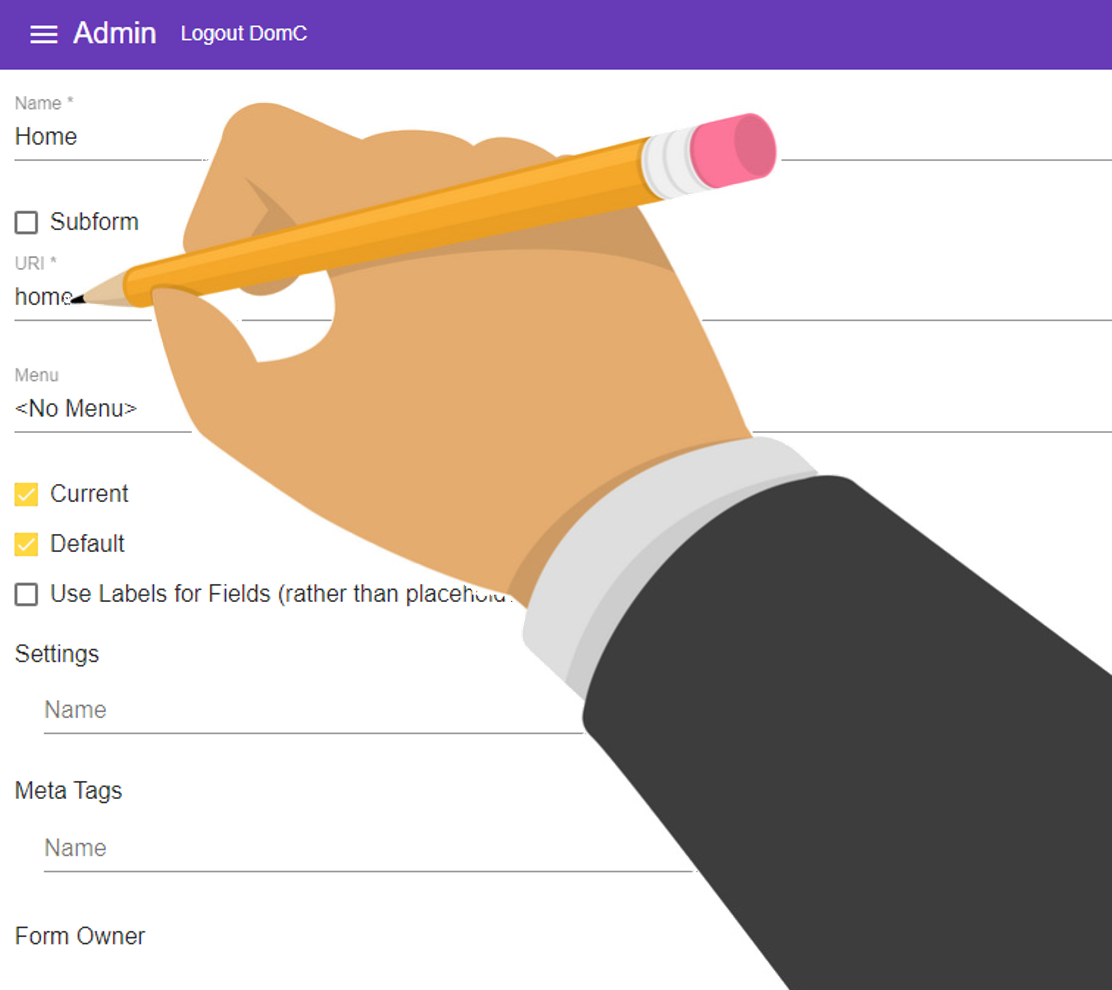
5. Enter a meaningful Name for your page e.g. 'Custom CSS Page'
- For example, "Custom CSS Page"
Names can contain spaces or any characters
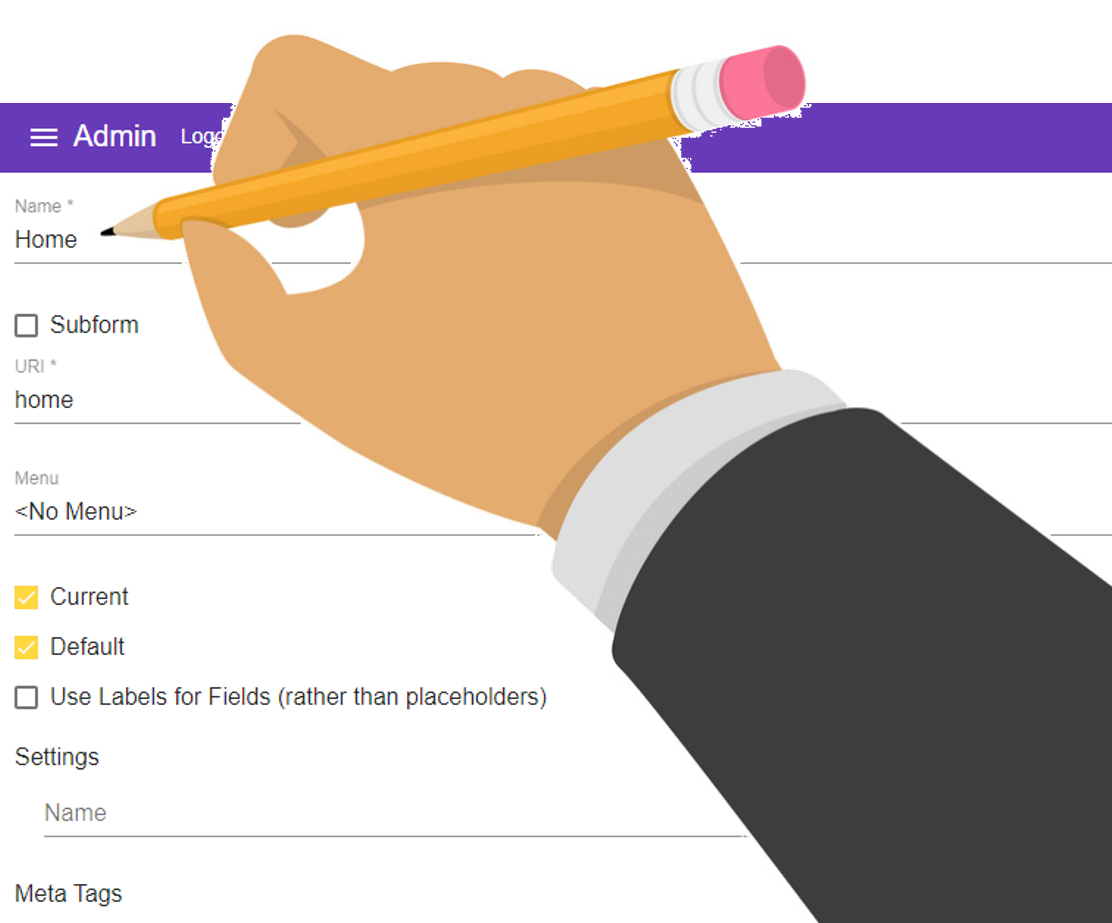
7. Enter a URL for your page e.g. 'css' warning
For example, "test"
WARNING!
When creating a URL do NOT include unsafe or special characters
Click Here for more information and Special Characters
8. Press

Your new page can now be viewed by using https://demo.dashnetics.com.au/css.
The page will be blank because we haven't added any elements to it.
It will load as a plain white page with a small "Built with Dashnetics" message in the footer.
9. Select

10. Select
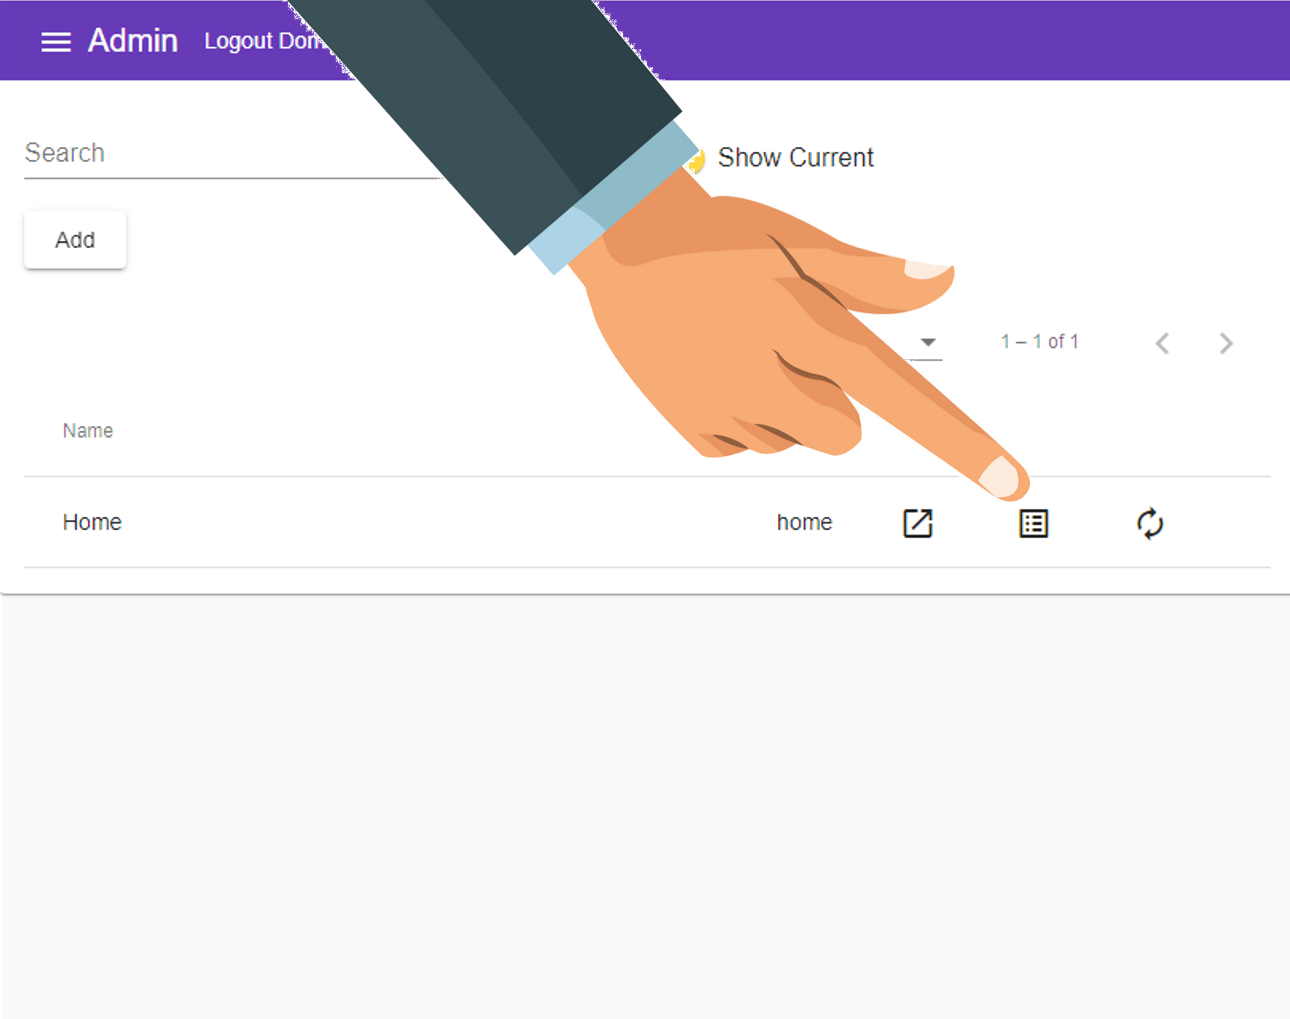
11. Select Items Icon
Each page will be listed, choose the "Items" Icon next to the page you want to change.
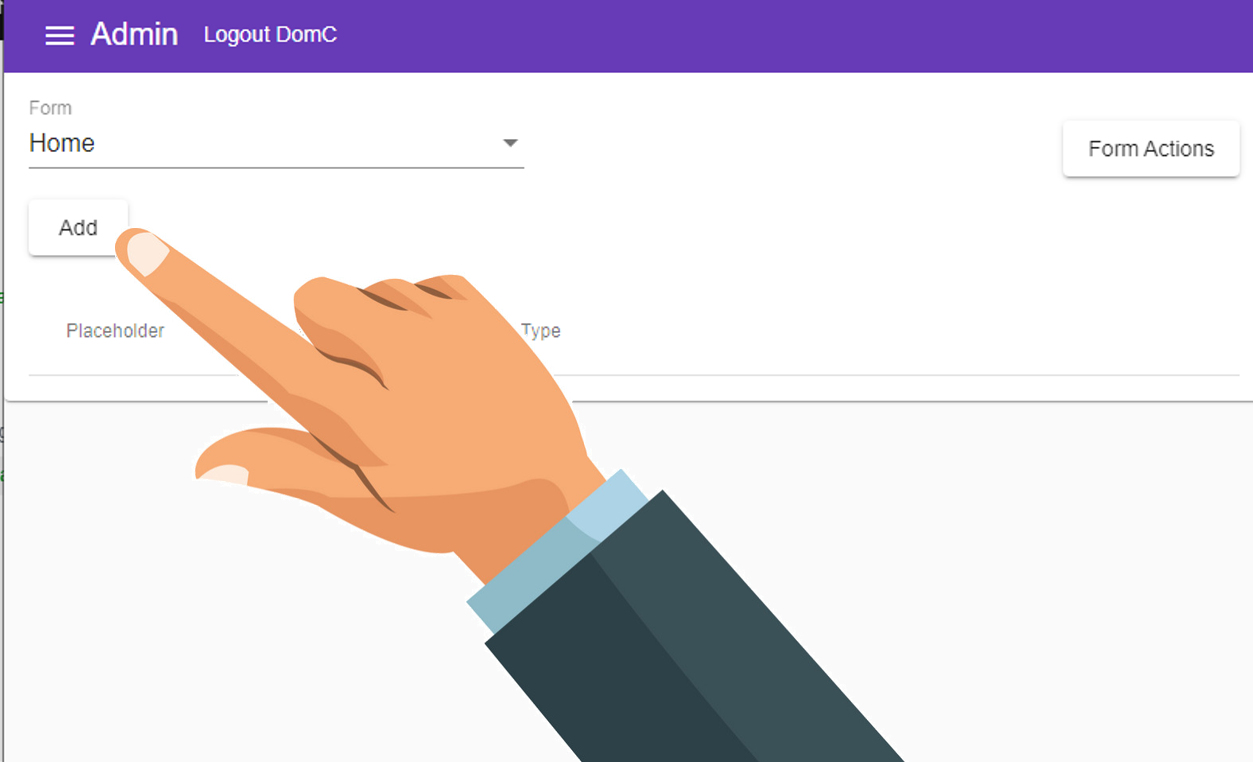
12. Select
To begin adding a new Item to the page
13. Enter a Name for your Styling
For example, "Fonts" or "Colors" or "Headings"
Names can contain spaces or any characters
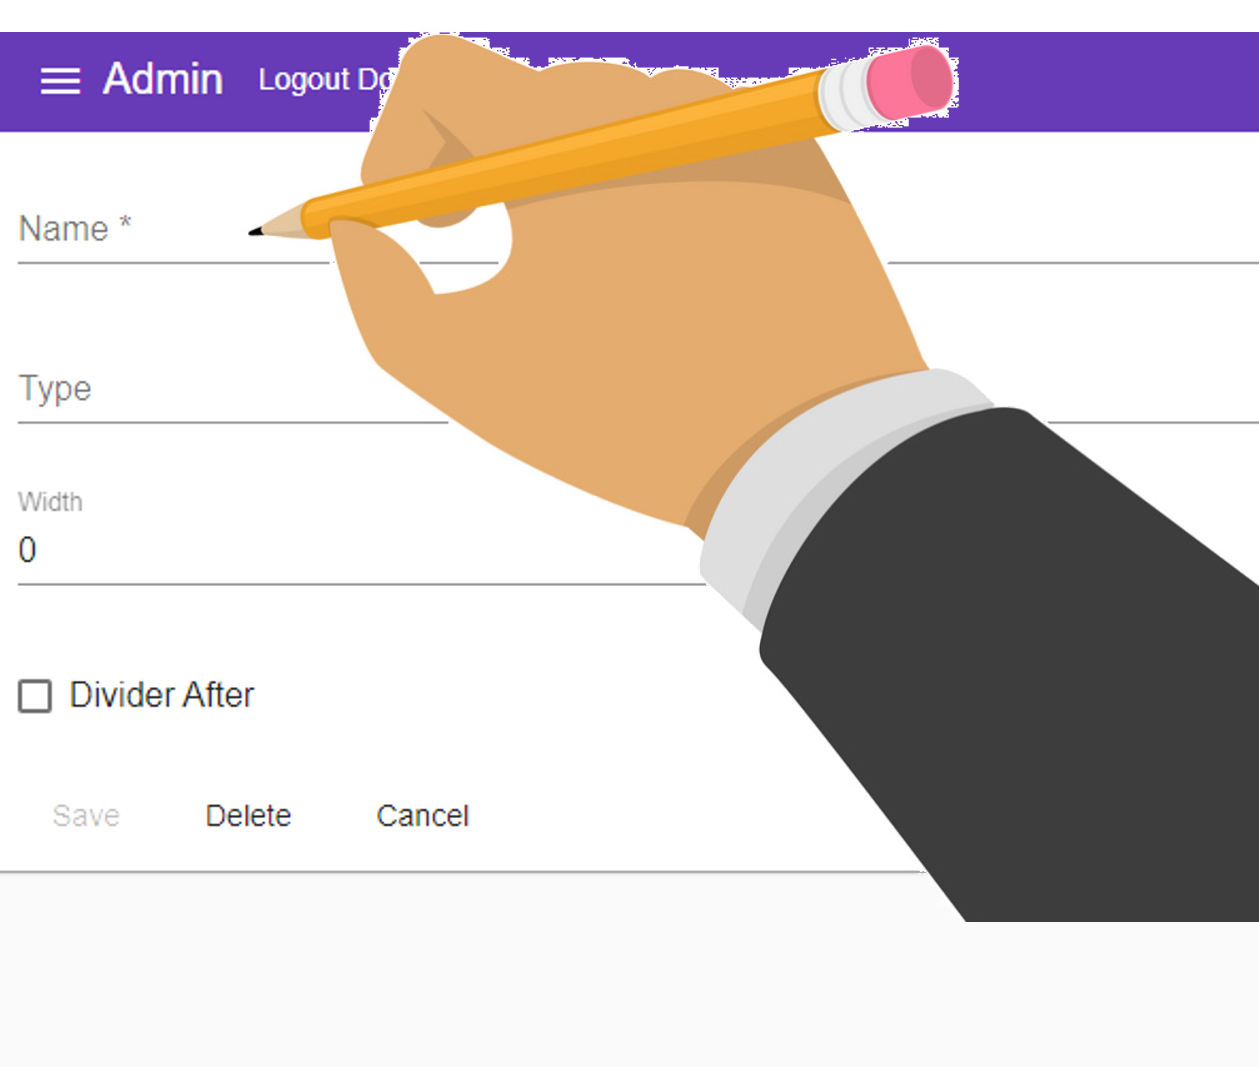
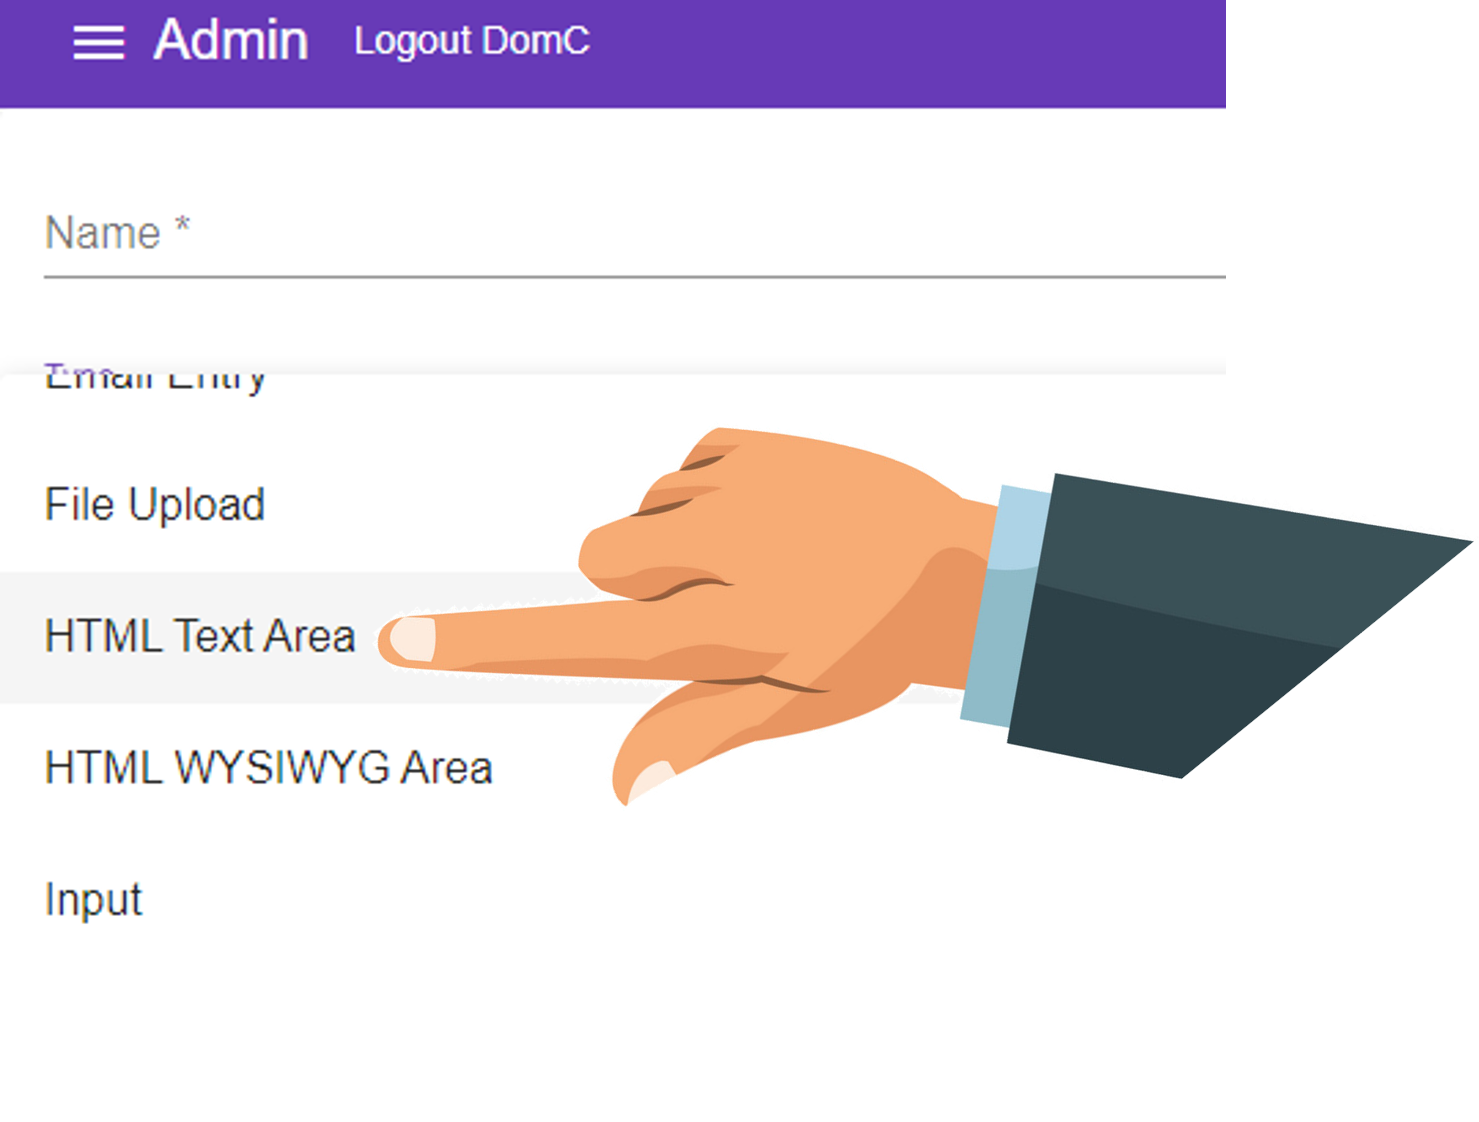
8. In the Type dropdown, choose "HTML Text Area"
If you are copying an entire stylesheet from your existing page you will only need the one "styles" item.
If you are writing your styles in, it may be good practise to add seperate items for things like "Fonts" and "Colors" and "Headings" etc to make them easy to find and change later on
9. Width can remain as "0"
Width "0" means the item will display at the DEFAULT width.This can be changed later if necessary
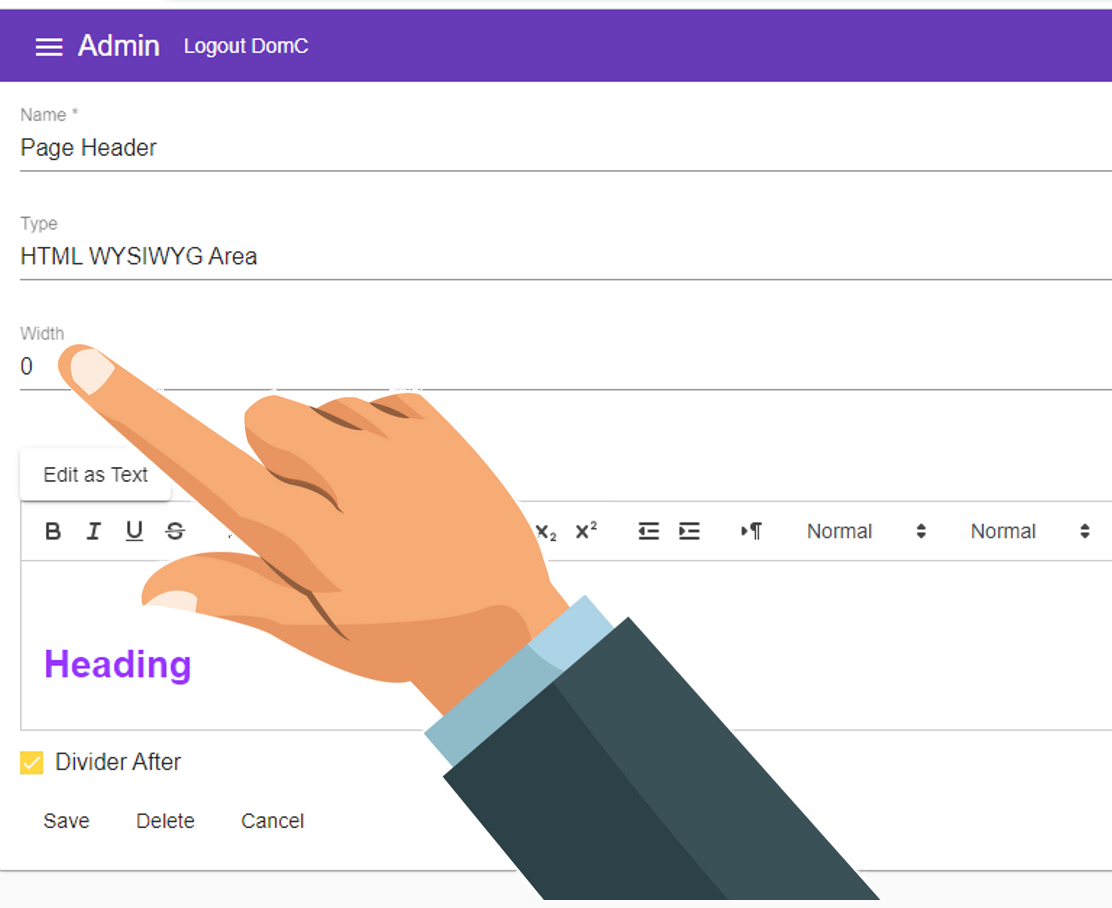
10. Within the HTML Text area, type or copy your styles inside 'style' tags
The below example will add the font 'Europa-Bold' to our custom css page ready to use on elements
We can style any element with this font by calling it from the element
Set the style for Classes by referring to them with a dot - see ".h1" below
Set the style for Elements by referring to them without a dot - see "h2" below
In the above example we:
color any elements with the class='h1' blue (#0000ff), and
color any <h2> tagged elements in red (#ff0000).
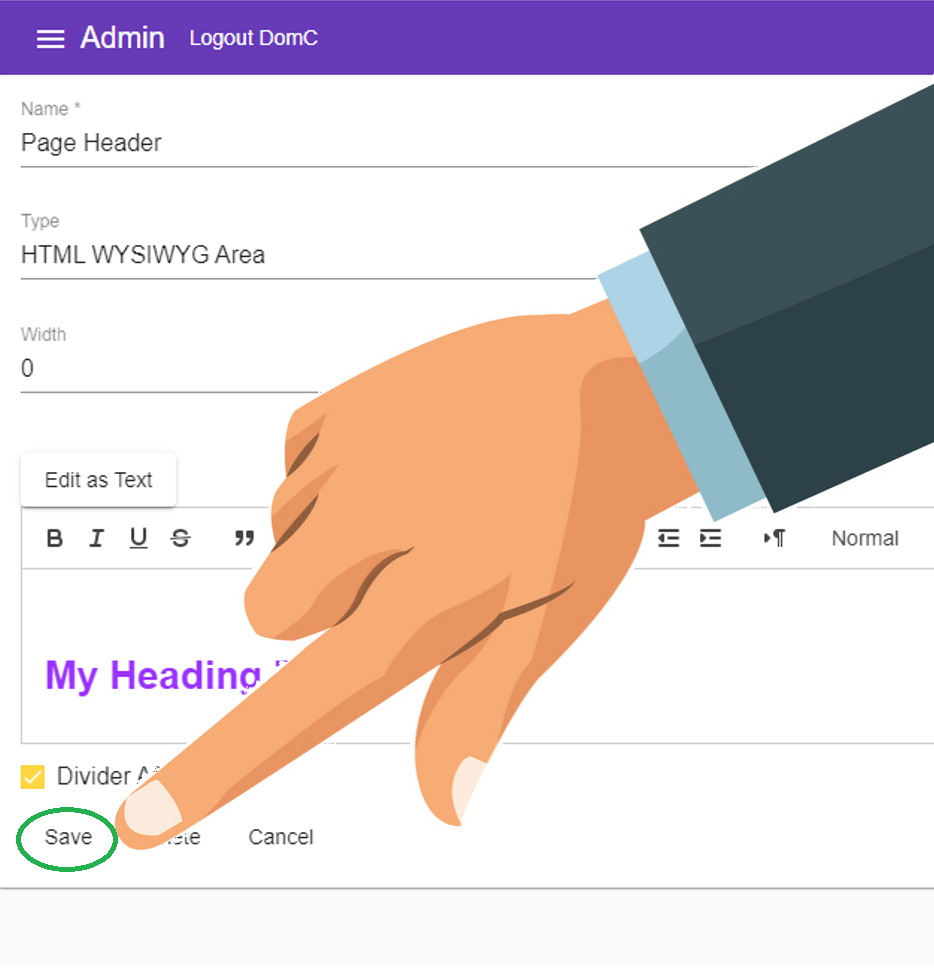
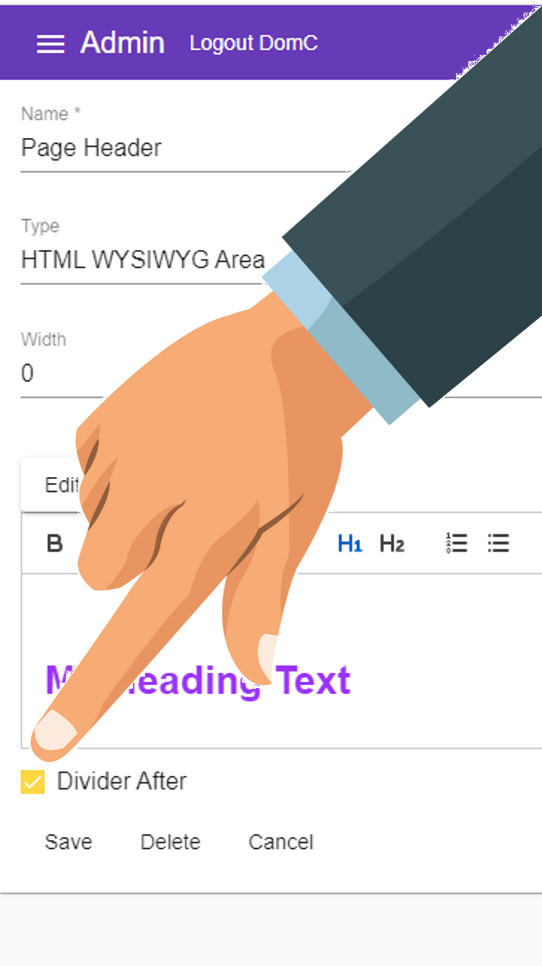
11. Tick check_box 'Divider After'
This will ensure the next element we add will appear below the styling.
12. Press